Ice Climbing Strength Training: Exercises for sending this winter
Ice climbing season is coming up quickly and this is the important time to put in the training time so you’re ready to swing tools when temps drop below freezing. A good training routine should involve a base period, a build period with incremental loading, sport-specific training and rest. This is far from a comprehensive blog post on how to train, but it’s important to look at these exercises as an add-on to your current training routine after you’ve built your base and can introduce sport-specific exercises. Ideally, you’re introducing these strength training exercises at least 4-6 weeks before ice climbing season kicks in. Start your planning now and if you want in-depth guidance on how to build out a training plan for ice climbing or pre-packaged fully detailed ice climbing training plan we highly recommend the coaches at Uphill Athlete, in fact all Skyward clients receive discount codes for their general training plans and/or custom coaching.
Ice climbing demands a unique blend of strength, endurance, suffering and technique. Spend lots of time outside in a winter environment and you’ll get the hang of the suffering part and the movement specific skills are best practiced in places like the Ouray Ice Park or backcountry ice routes. But the muscular endurance and strength building can begin well before the season begins from the comfort of your local gym. Ice climbing approaches tend to involve longer walks than most rock climbing plus uphill travel and through snowy conditions so it’s important to have a solid aerobic capacity in order to arrive at the base of the route still feeling good. Additionally, ice climbing involves significant grip strength, shoulder stability, calf endurance and core strength to hold your body in tension. That’s why a strength training program for ice climbing is essential if you want to climb more efficiently, prevent injuries and improve your endurance on long backcountry multipitch routes or alpine climbs.
In the following guide, I’ll break down some of the most effective ice climbing specific workouts to help you build the strength you need for a successful winter season. I have specifically focused on exercises that can be done in simplistic gyms and don’t require significant or specialized equipment, with a few adaptations to consider based on your equipment selection. These exercises should supplement your normal cardio and strength training, though you may have to adjust/reduce the amount of reps if you have similar muscle activation exercises in your current routine.
Warm Up
Make sure your cardio system is online before starting the workout, spend 15 minutes doing moderate activity like on a stationary bike, light jogging, jump ropes and/or air squats. You’ll also want to include some shoulder specific mobility routines, resistance bands are an affordable and transportable tool for this. A dowel or PVC pipe also works well to focus on range of motion.
Shoulder Stability
The overhead press is a great way to develop the deltoid muscles (anterior, lateral and posterior heads are all engaged). Plus, this exercise also builds triceps (important for swinging ice tools), trapezius (stabilizes the shoulder blades) and core muscles making it a well-rounded exercise. You can use dumbbells or a barbell, depending on what resources and space you have available. Keep your elbows pointing slightly forward rather than flaring out to the side. Focus on good form and avoid ego lifting with more weight than you can smoothly complete all the reps.
3 sets x 10-12 reps. Rest for 2-3 minutes between sets.
Swinging endurance
Similar to a tricep extension (and the overhead press from above) this exercise focuses on the triceps and deltoid muscles, with specific emphasis on the endurance component. Use a very light weight dumbbell (~5lbs) and with hands by your ears and elbows facing forward (avoid flaring your elbows out), “swing” the dumbbells as you would an ice tool in a controlled manner. You can also focus on building core stability here too. This exercise is surprisingly difficult for the low weight, you may have to adjust to even less weight in order to complete the full timing - your shoulders will be burning!
3 sets x 1 minute each. Rest for 1 minute between sets.


Pulling and Lock-offs
Upper body pulling and lock-off strength is important on those steeper routes, such as on pillars or for mixed climbing. Inverted rows are an ideal way to replicate the movement and muscle groups used for climbing. This exercise can be easily adapted to different gym resources and adjusted to a variety of difficulty levels depending on your current strength/ability.
Using TRX or gymnast rings, set up the height so your butt and back are in a straight line, parallel with the ground. Brace your core and avoid arching your back, pull yourself up on the rings while focusing on contracting your shoulder blades, slowly lower yourself back down to the starting position. It can be especially helpful to video yourself for this exercise to ensure you are maintaining good form throughout. It is easiest with your knees bent at 90° and your feet flat on the floor, you may increase difficulty by straightening your legs, or even more by elevating your feet onto a yoga block or even more still by adding in additional core stability components such as elevating your feet on a stability ball or Bosu.
You may also use a Smith machine or barbell in J-cups on a squat rack (around the height of a typical bench press) instead of a TRX suspension system. Position your hands with an overhand grip just slightly wider than shoulder width apart.
3 sets x 10-12 reps. Rest for 2-3 minutes between sets.


Next up is a variation of the inverted row with one arm. This closely mimics the pulling and reaching motion climbers do on steeper routes, this is an ideal exercise to focus on the core muscles used for stabilizing, the pulling muscles to reach far away holds and the lock-off strength for fine tuning your placements. Same principles as the previous inverted row, but with only one arm on the bar or holding the rings (depending on your equipment selection). When you pull up, twist your body and reach as far as you can with your free hand, pause in the lock-off position for ~5 seconds. Avoid swinging your body and using momentum; control your descent back to the starting position. Similarly you can increase difficulty with varying leg positions as mentioned above, additionally you can add in shoulder stability for the reaching arm by holding a small dumbbell and when you reach up in the lock-off position, swing the dumbbell during the pause before lowering down.
3 sets x 8-10 reps per arm. Rest for 2-3 minutes between sets.


Grip Strength
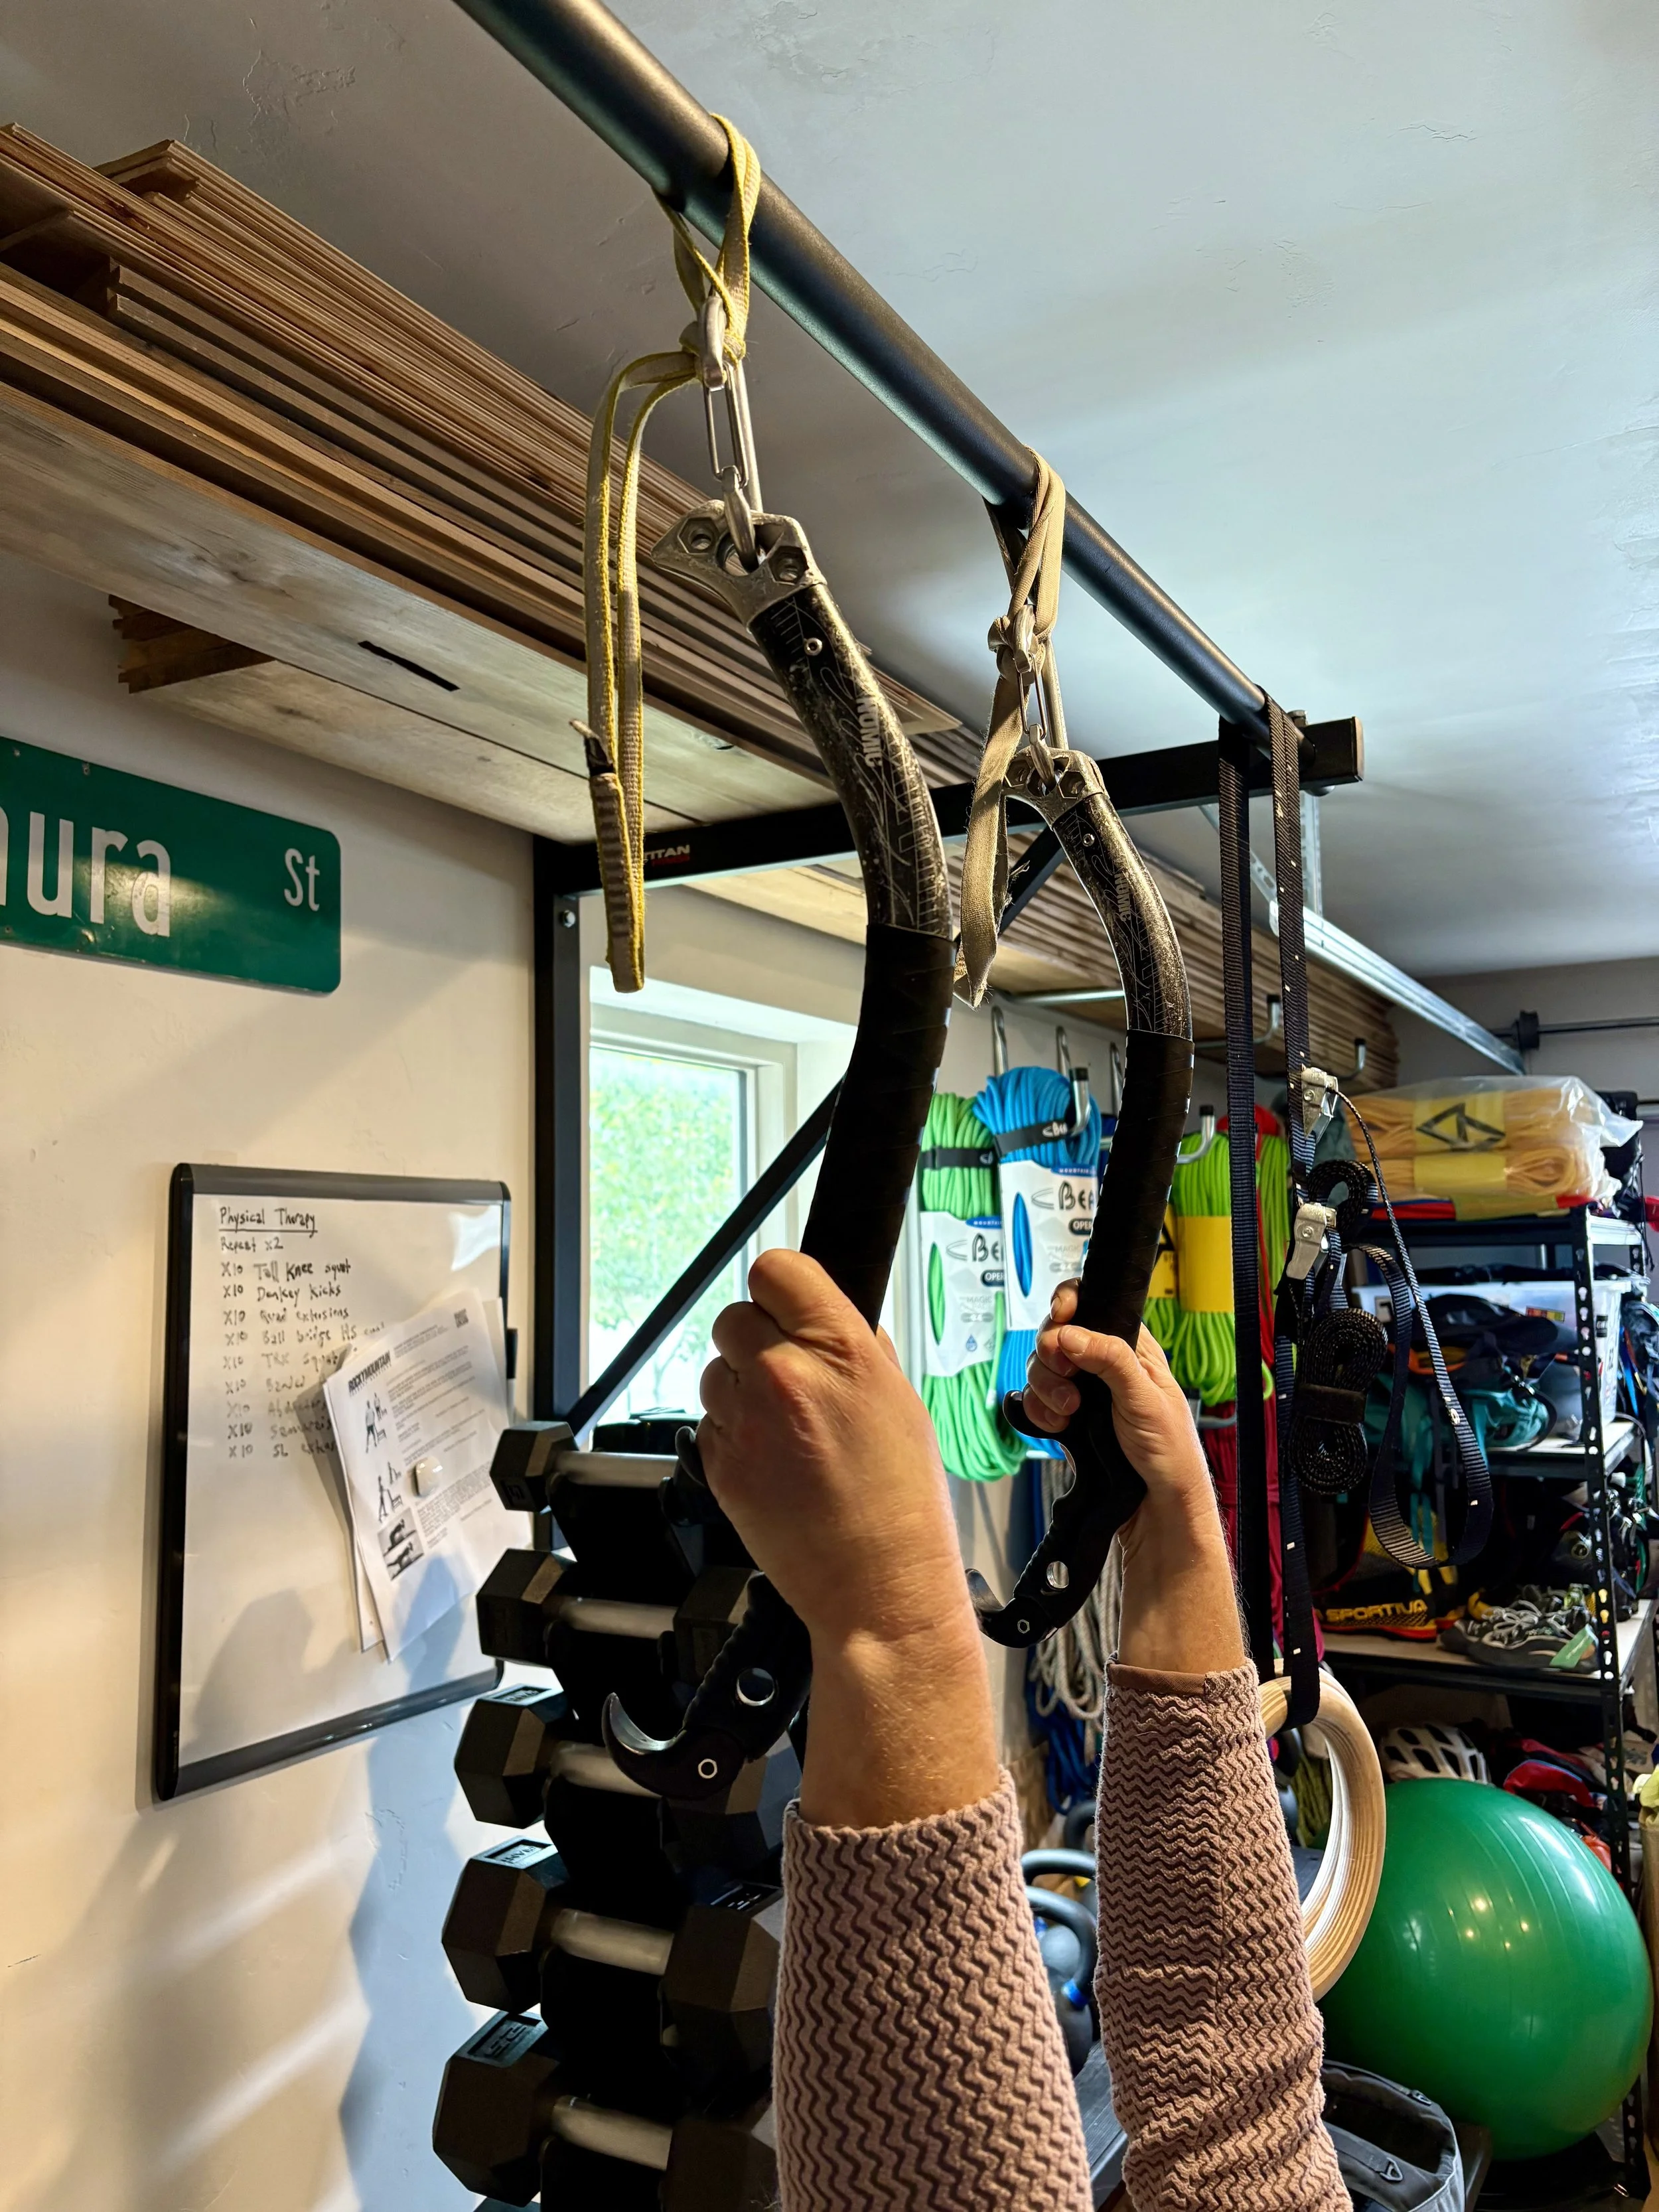
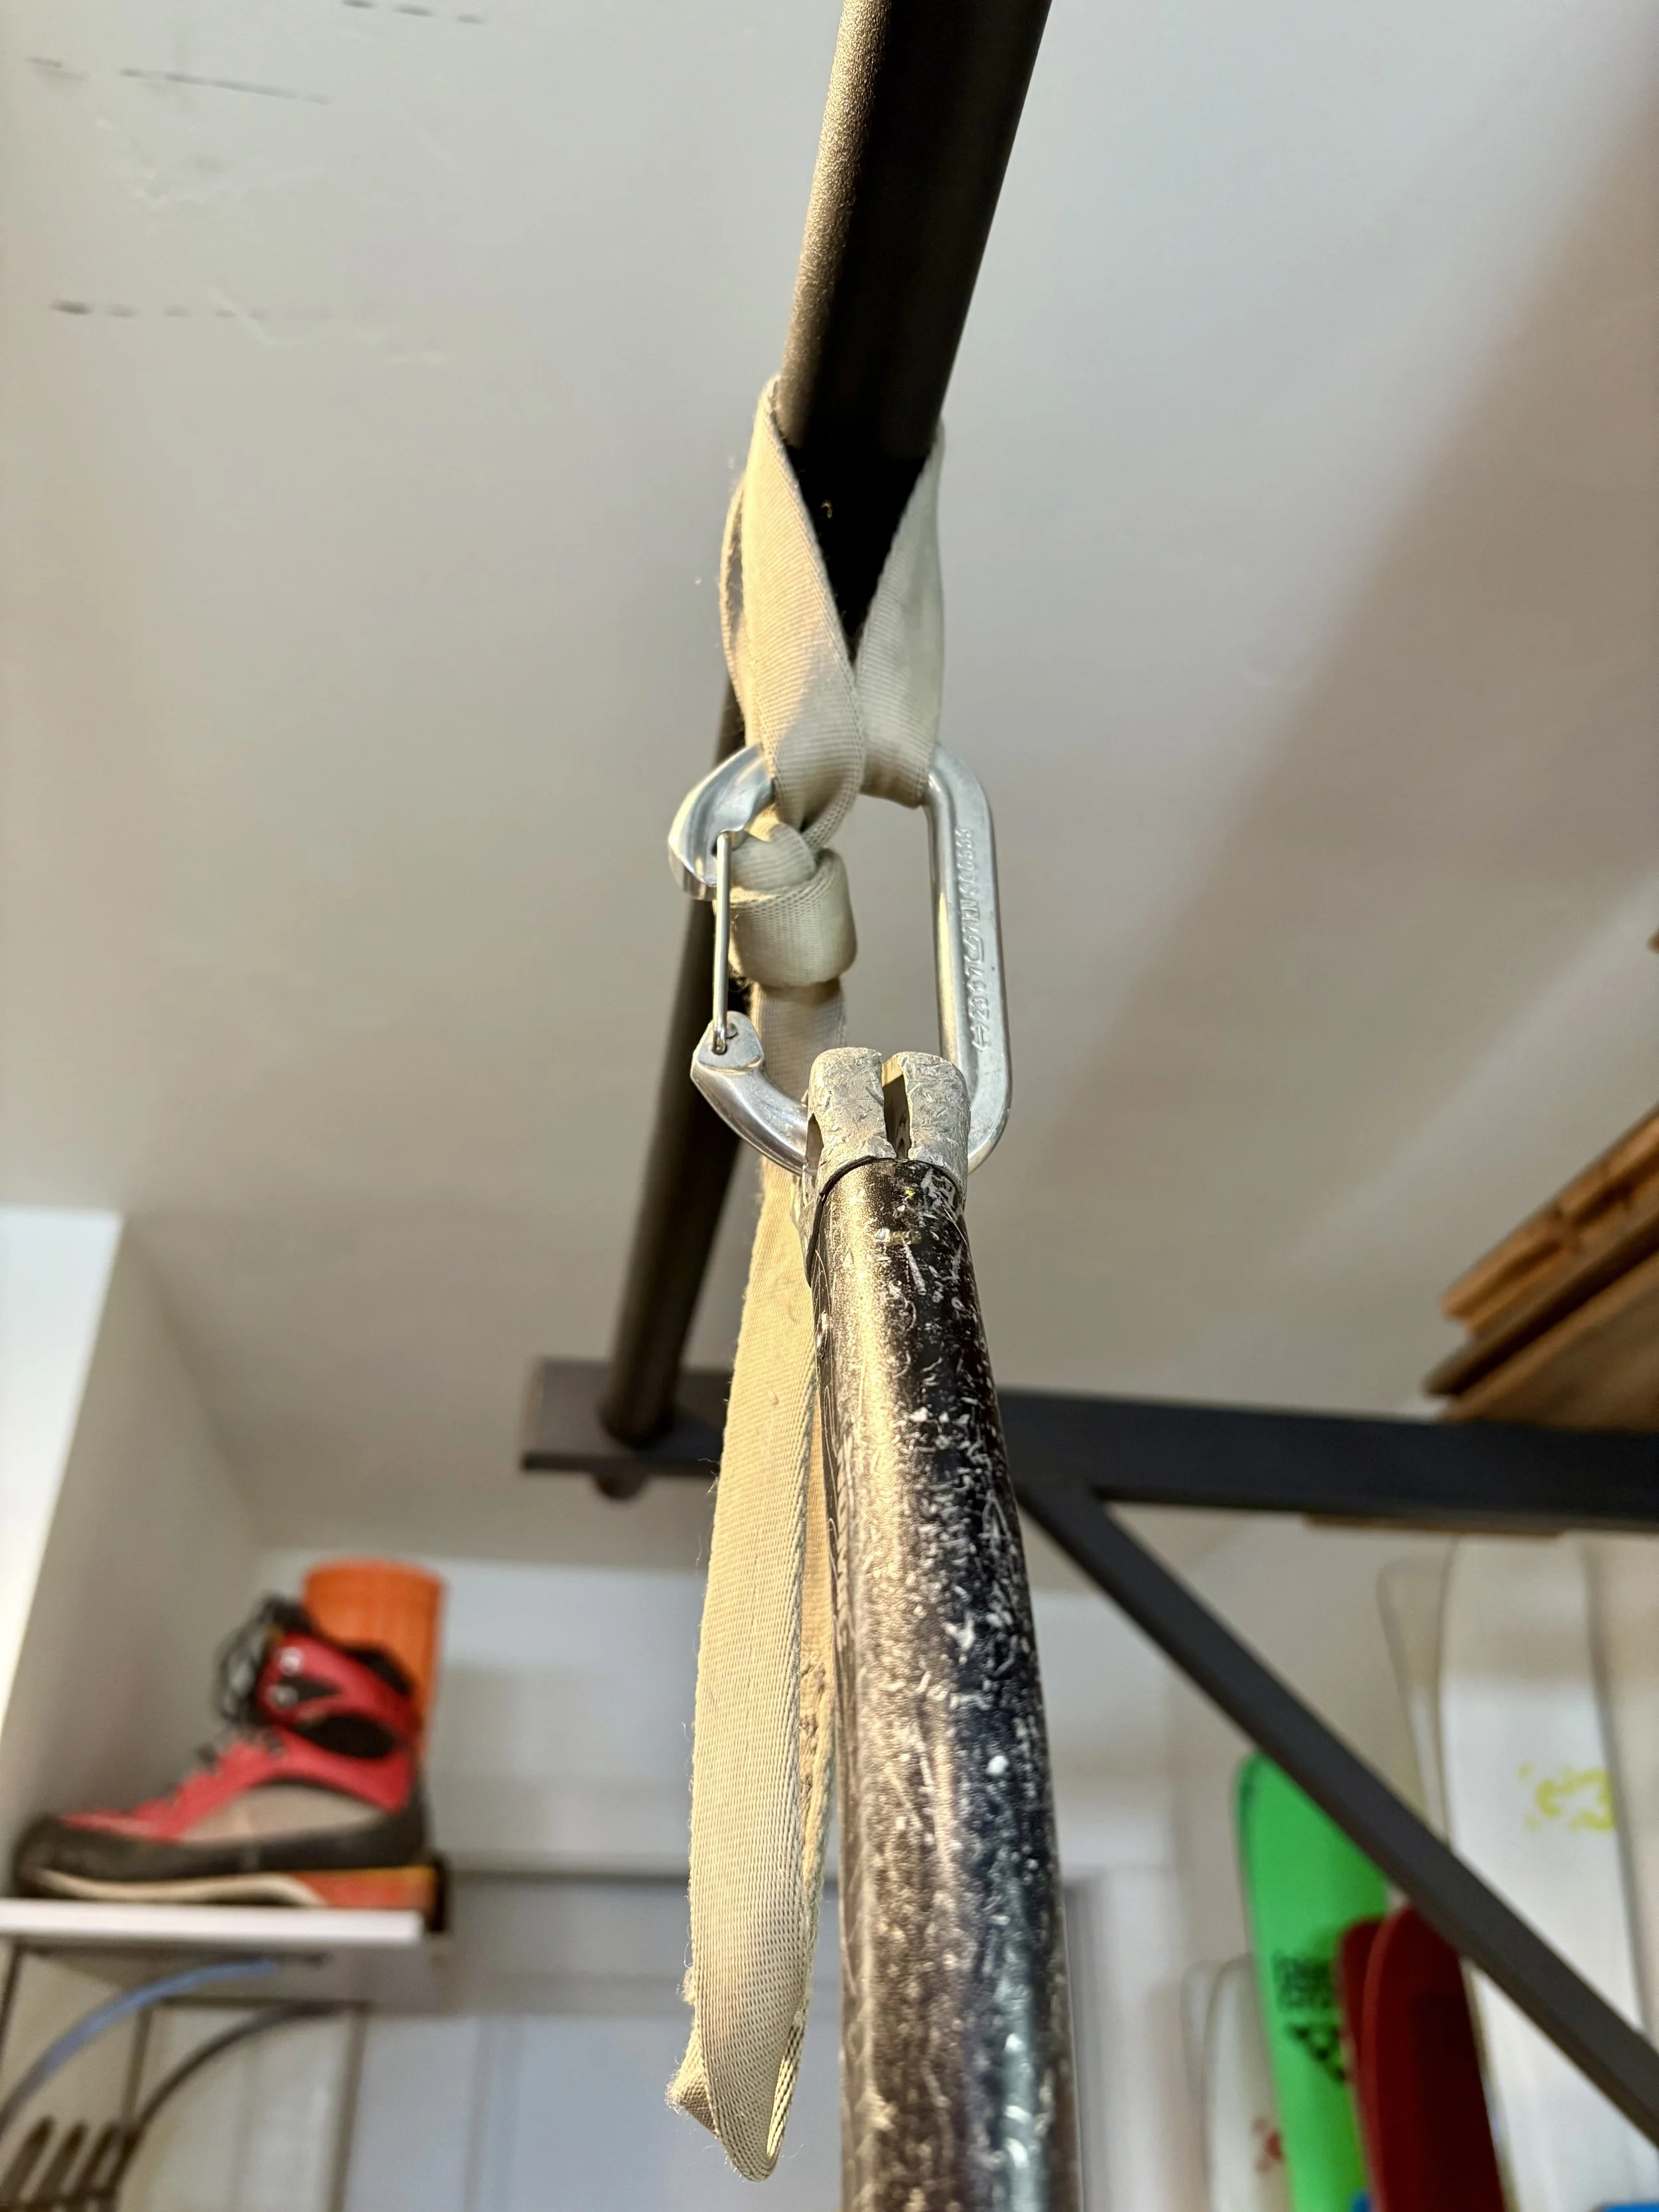
Weighted pull-ups and/or dead hangs with your ice tools is a great way to focus on ice climbing specific grip strength, though it may be difficult to sneak your ice tools into the gym. You’ll want to pad the pull-up bar well to avoid scratching the steel with your picks, I find a towel works ok, but it tends to still tear up the towel and the bar a bit, honestly. A better option may be use a sling clipped to the head of the ice tool and basket hitched on the pull bar and clipped back to the head of the tool (you can shorten the length of the sling by tying a simple overhand knot - see photo below). This is one of the most effective ice climbing grip training exercises to prepare for long and steep pitches.
Utilize interval training to focus on building endurance. Consider starting with 6-8 sets of 30 seconds on and 30 seconds off. After 2-3 rounds of this exercise you can increase the hanging time interval and let your body again adjust to the increased load.
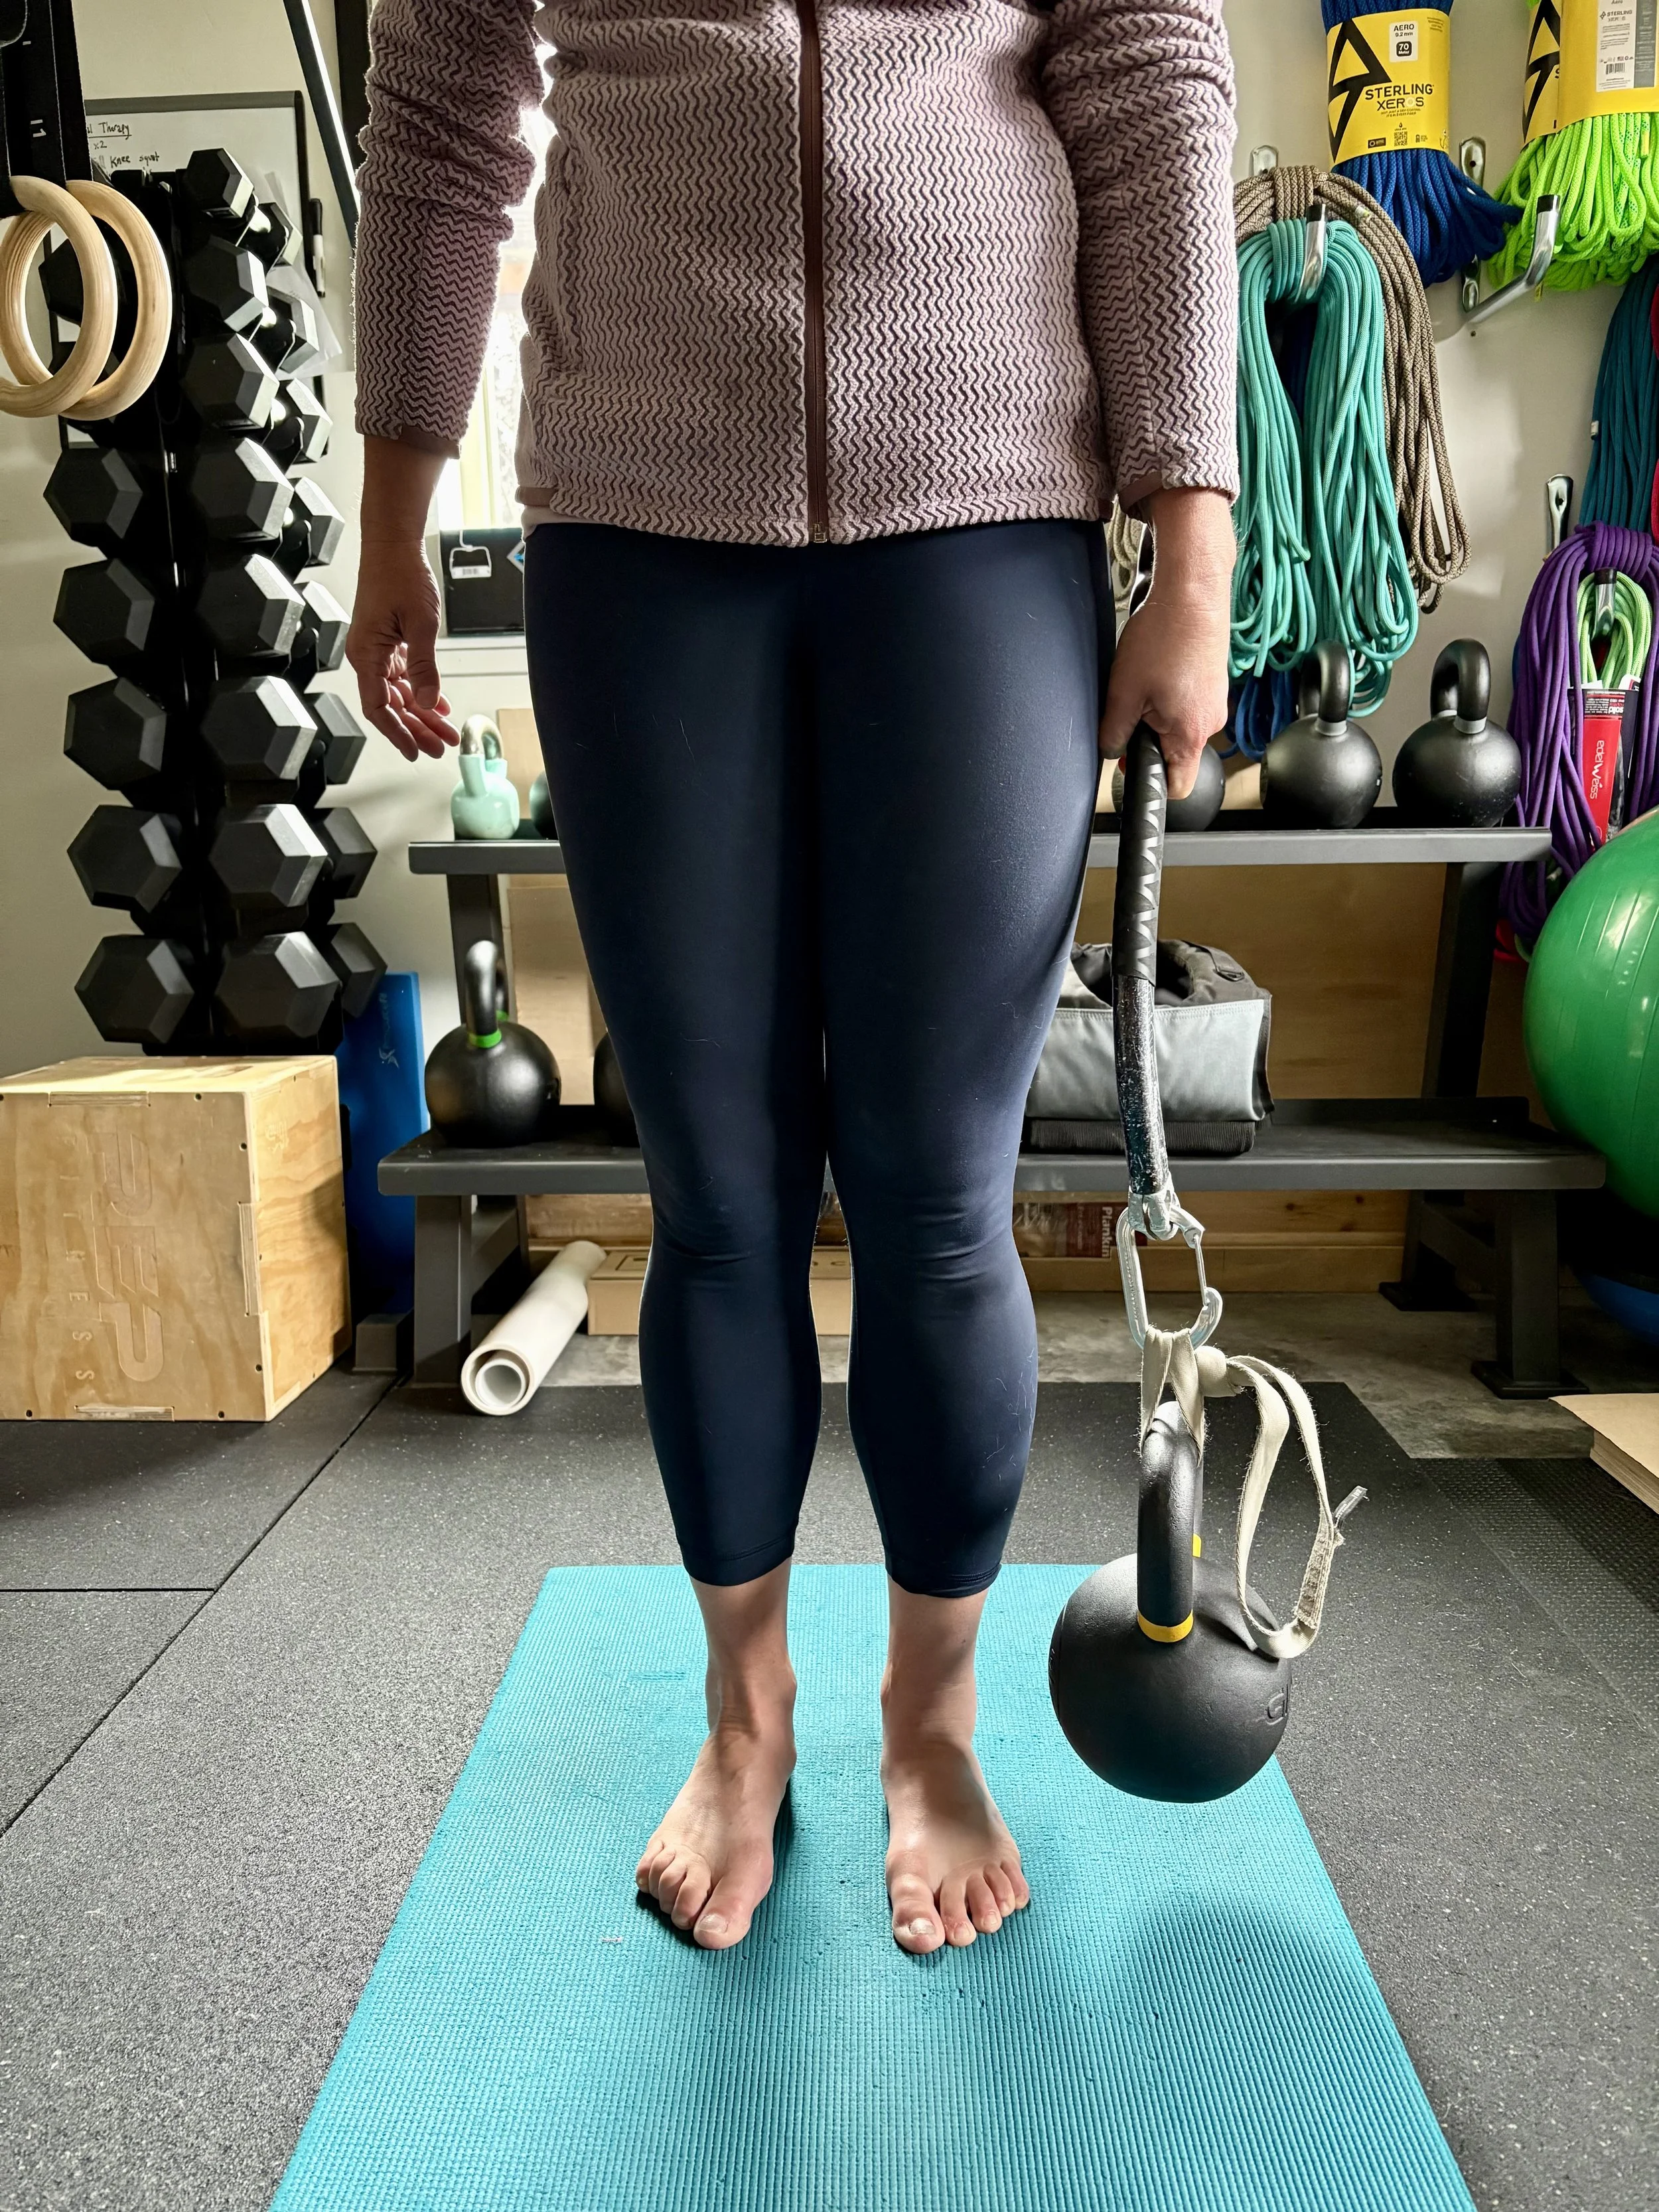
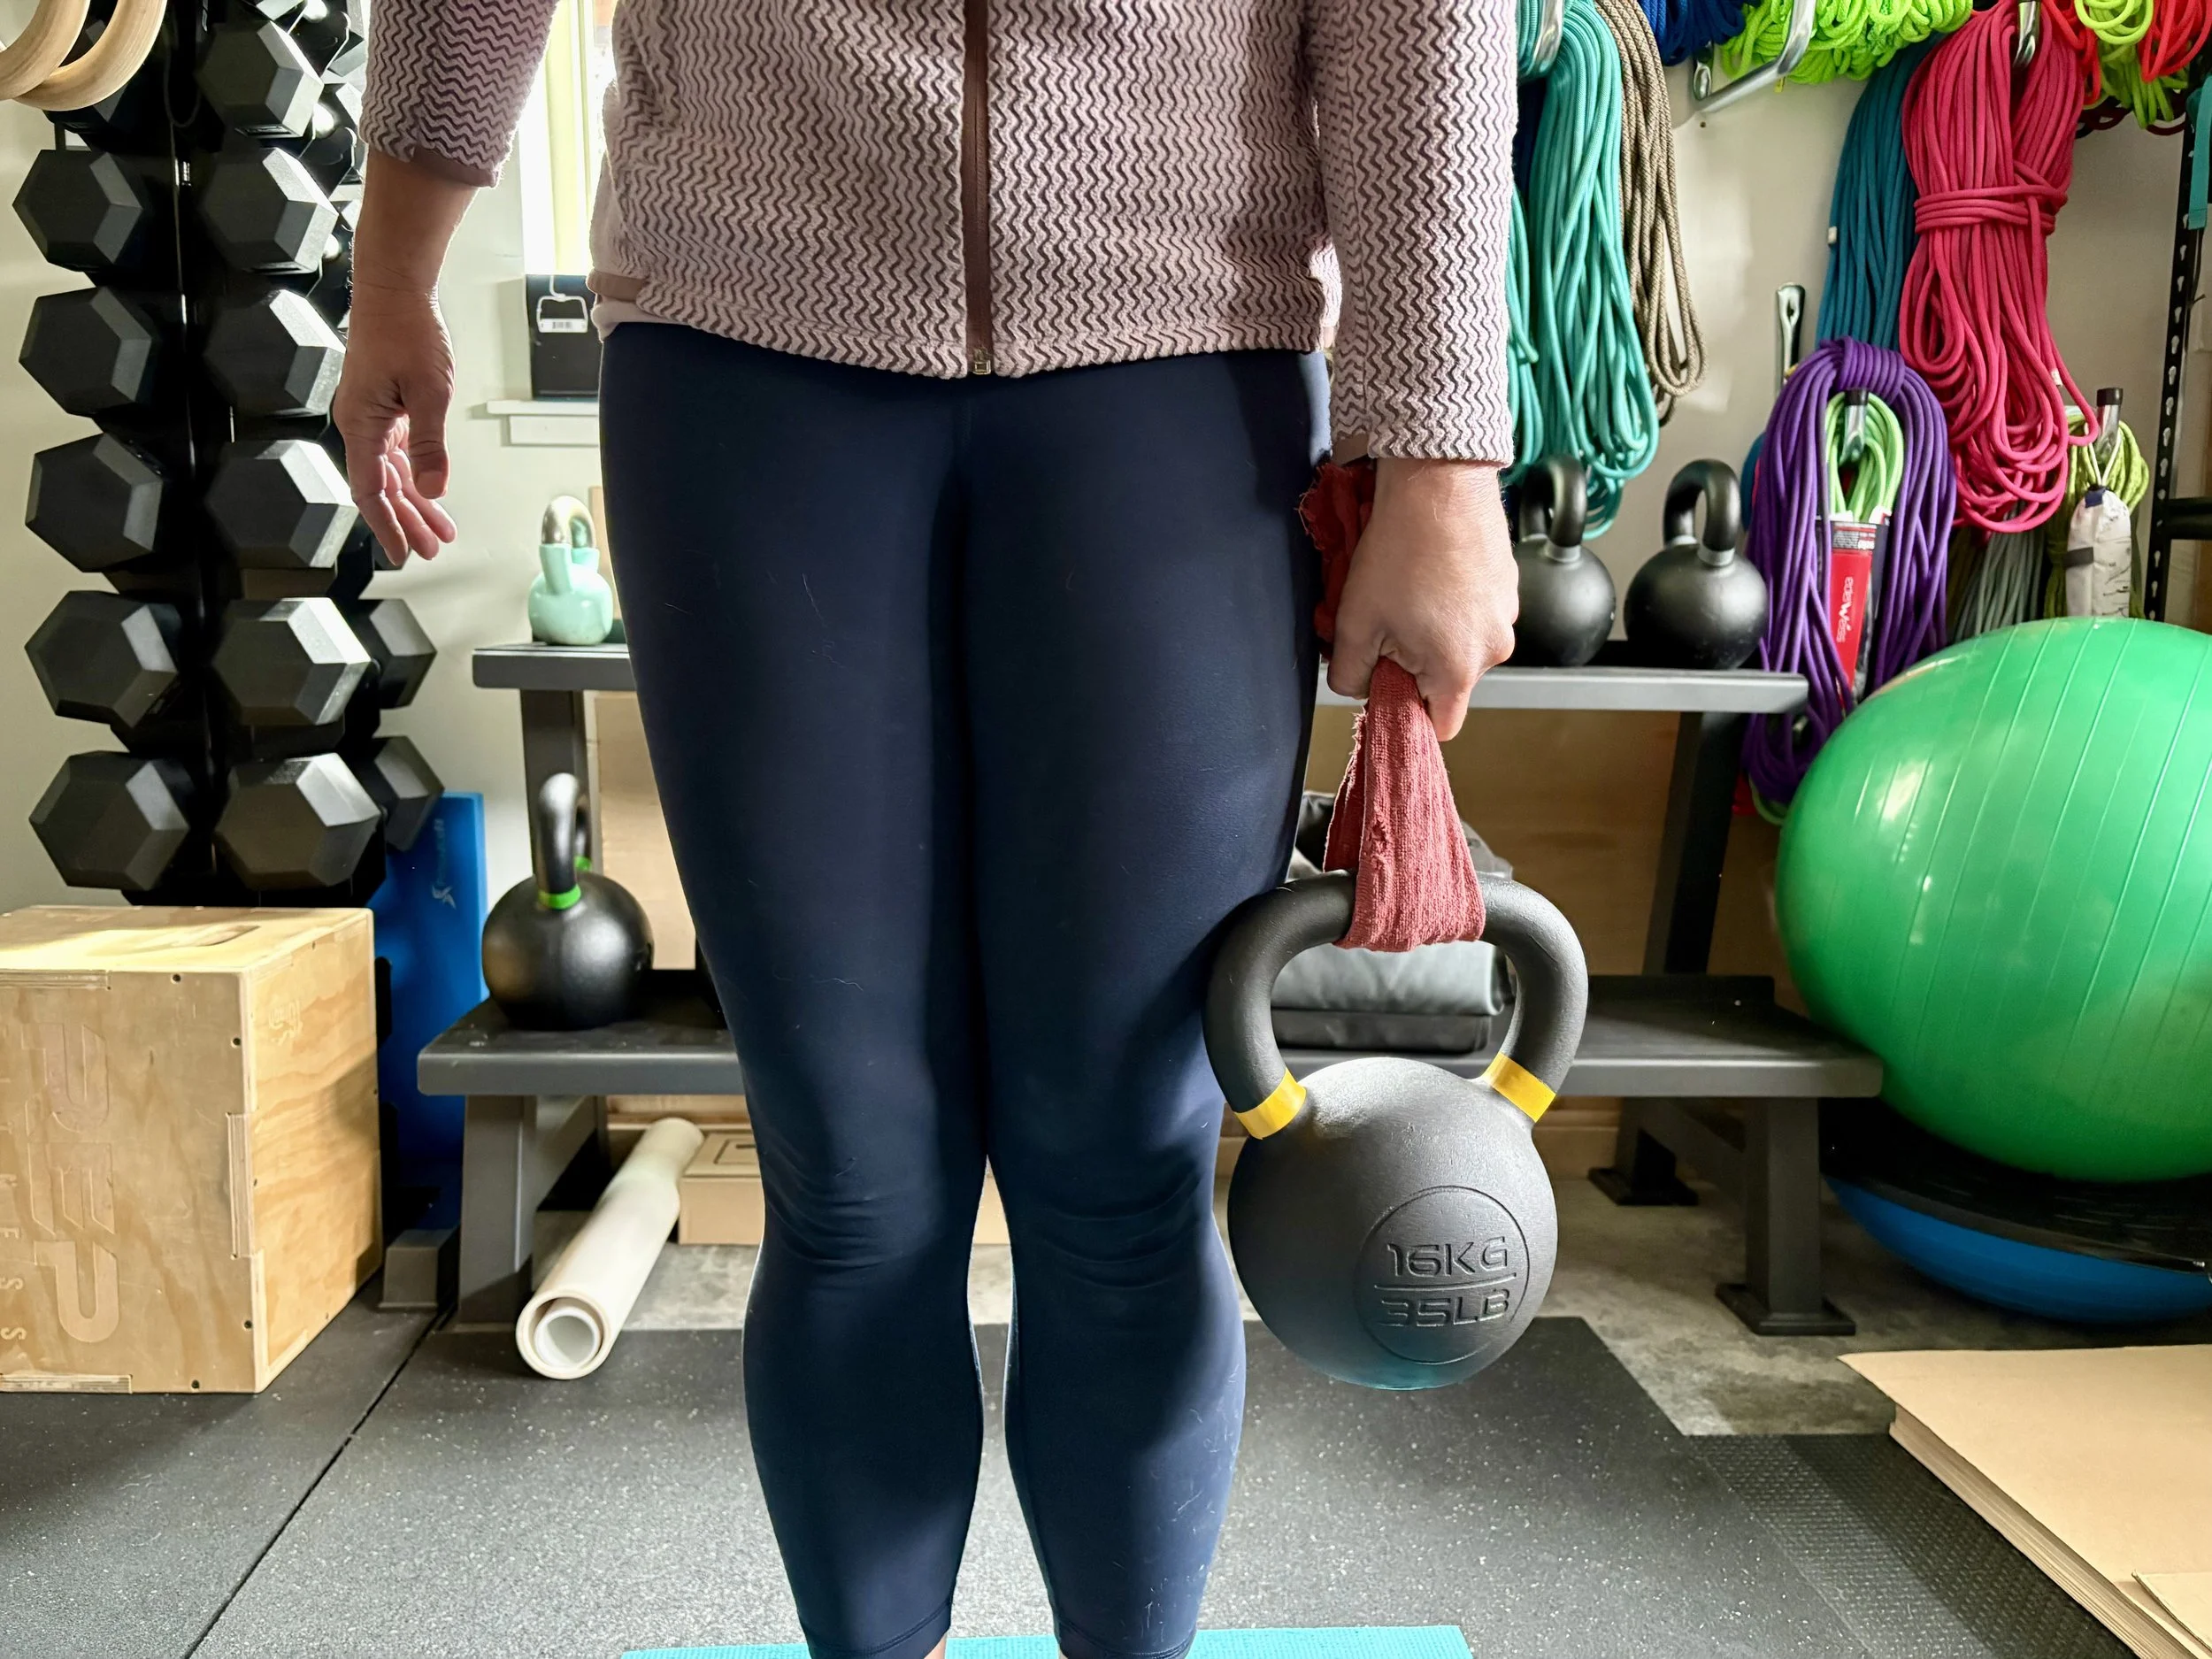
Another method is to do a Farmer’s Carry. You can use the same sling method as mentioned above. If you can’t bring your ice tools into the gym, a substitute would be to basket hitch a small towel through a kettlebell handle and just hold the towel. Not an exact replica but it works a similar grip strength for holding onto ice tools.
breaking trail and uphill approaches
Prep for those long uphill approaches through deep snow with leg focused exercises such as the Bulgarian Split Squat and Step-Ups. These single leg exercises are great for training the stabilizing muscles and power for uphill propulsion. When choosing a box for step-ups find a size that is approximately 3/4 of the height from the ground to your knee. You can add weight by holding dumbbells or kettlebells by your side, a weight against your chest in a goblet position or even in a backpack to most closely replicate hiking with pack weight outdoors.
4 sets x 10-12 reps per leg. Rest for 1-2 minutes per set.
Here’s a good video tutorial on the Bulgarian Split Squat: https://www.youtube.com/watch?v=hPlKPjohFS0
Core stability
You don’t need a 6-pack of abs to be a good ice climber, but a strong core will stabilize you on steep routes, help you carry the backpack to the base of the route and is important for overall good body posture for the most efficient climbing techniques. Make sure you add in core stability exercises, here are a couple good options that are closely related to the sport-specific strength used when ice climbing:
Knees to chest: hang from a pull-up bar in the overhand grip position and while keeping your back straight and avoiding anteriorly tilting your pelvis, lift your knees to your chest and lower back to the starting position. The exercise should be done in a controlled manner, avoid swinging your body. You can increase the difficulty by wearing heavier boots or bringing your toes to the bar with straight legs.
Mountain climbers: from a push-up position, put your feet into a TRX band or rings (the height should maintain your body in a horizontal plank position, so only ~8 inches off the ground). Alternate between bringing each of your knees to your chest while staying in the plank position and avoiding arching your back. 3 sets x 1 minute on and 1 minute off.
stand on your tippy toes!
Your calves are responsible for so much in ice climbing, from the approach to the climbing. Don’t neglect these muscles, you can add these exercises in between sets of your other workouts or dedicate some specific time towards them. Calf raises as a method of strength training for ice climbing is best if you closely replicate what you’ll be doing when ice climbing. Therefore, using a pair of stiff mountaineering boots is best, but if you don’t want to lug your boots to the gym a soft pair of sneakers is sufficient and getting in the mileage is more important. Utilize several variations of the calf raise to target different calf muscle zones, such as:
Single leg builds balance and targets full calf strengthening
Toes pointed inward targets the outer calf
Toes pointed outward and and heels together targets the inner calf
For all calf raises, focus on lowering slowly and keep your knee straight to avoid compensating with accessory muscles. You can decrease the difficulty and stabilize your body by leaning forward and encouraging proper form with the calf raise.


General training tips
Utilize the off-season to build a base strength before shifting to endurance, power and sport-specific training as the ice climbing season approaches. Train in blocks and phases, allowing your body time to adjust to increases in the load before adding more. Prioritize recovery and avoid over-training: tendons are slow to adapt so progress slowly and avoid injury.
Practicing specificity in your training is best if you want to see real results in the mountains rather than just ego-lifting in the gym. Whenever possible, hang from your actual tools and use movement patterns that reflect real climbing.
These ice climbing exercises will help you step into the winter season stronger and more confident. If you have questions about preparing for specific ice climbing objectives or alpine goals, reach out and let us know, we want to help!